Most guides to "connecting an agent to an API" turn into an abstract options comparison and never show you the actual command. This one shows the command, what it does, and what to check afterward — because that's the part that's usually missing.
What MyApi is actually doing in the stack
MyApi sits between your agent and the services it needs — Gmail, GitHub, and 100+ others. The agent never receives your provider passwords or OAuth tokens for those services. Instead, it gets a scoped credential, and MyApi's gateway proxies every call: it attaches the real, encrypted credential server-side, checks the request against the credential's scope, and logs it with the identity of the device that made it.
For coding agents specifically, the fastest connection method doesn't use a bearer token at all — it uses a device identity. Each agent generates its own Ed25519 keypair locally, MyApi calls this an Agentic Secure Connection (ASC), and every request that keypair makes is signed rather than authenticated with a copyable secret. There's no token in a config file for something to leak.
The fastest real setup path: MCP with an enrollment code
If your agent runtime speaks MCP — Claude Code, Claude Desktop, Cursor, and others are explicitly supported — this is the path to use. It's the one MyApi's own "Quick Connect" flow in the dashboard is built around, and it's what MyApi's engineering team used to connect two different agents (Hermes and OpenClaw) to the same account in one line each for a published benchmark.
Exact steps
1. Generate a one-time enrollment code. In the MyApi dashboard, the Quick Connect panel lets you pick an access level first — full account access, or the scope of one of your existing scoped tokens (for example, Gmail read-only) — then generates a single-use code that expires in 15 minutes.
2. Add MyApi to your agent's MCP config, using the code as an environment variable:
{
  "mcpServers": {
    "myapi": {
      "command": "npx",
      "args": ["-y", "myapi-asc-mcp"],
      "env": {
        "MYAPI_ENROLL_CODE": "MYAPI-XXXX-XXXX"
      }
    }
  }
}
For Claude Code specifically, the one-line equivalent from MyApi's own developer docs is:
claude mcp add myapi -- npx myapi-asc-mcp
3. Restart your MCP servers, then have the agent call the myapi_status tool. On first run, npx myapi-asc-mcp generates an Ed25519 keypair locally and exchanges the enrollment code for registration — the code is consumed and can't be reused. From MyApi's own benchmark write-up, this is what a real enrollment looks like from the terminal:
$ npx -y myapi-asc-mcp   # MYAPI_ENROLL_CODE=MYAPI-XXXX-XXXX
✓ device identity generated (Ed25519)
✓ enrolled as "Openclaw" — no OAuth tokens stored on this machine
✓ 23 services available through MCP
No account token is ever shown to the agent. The private key stays on the machine that generated it and signs every subsequent request.
How approval and device trust actually work
An enrollment code alone doesn't hand over access — depending on how the code was scoped, the device may still need explicit approval. You can see and manage every enrolled device at /dashboard/devices: approve a pending device, revoke one, or check status. Revocation takes effect on the device's next request.
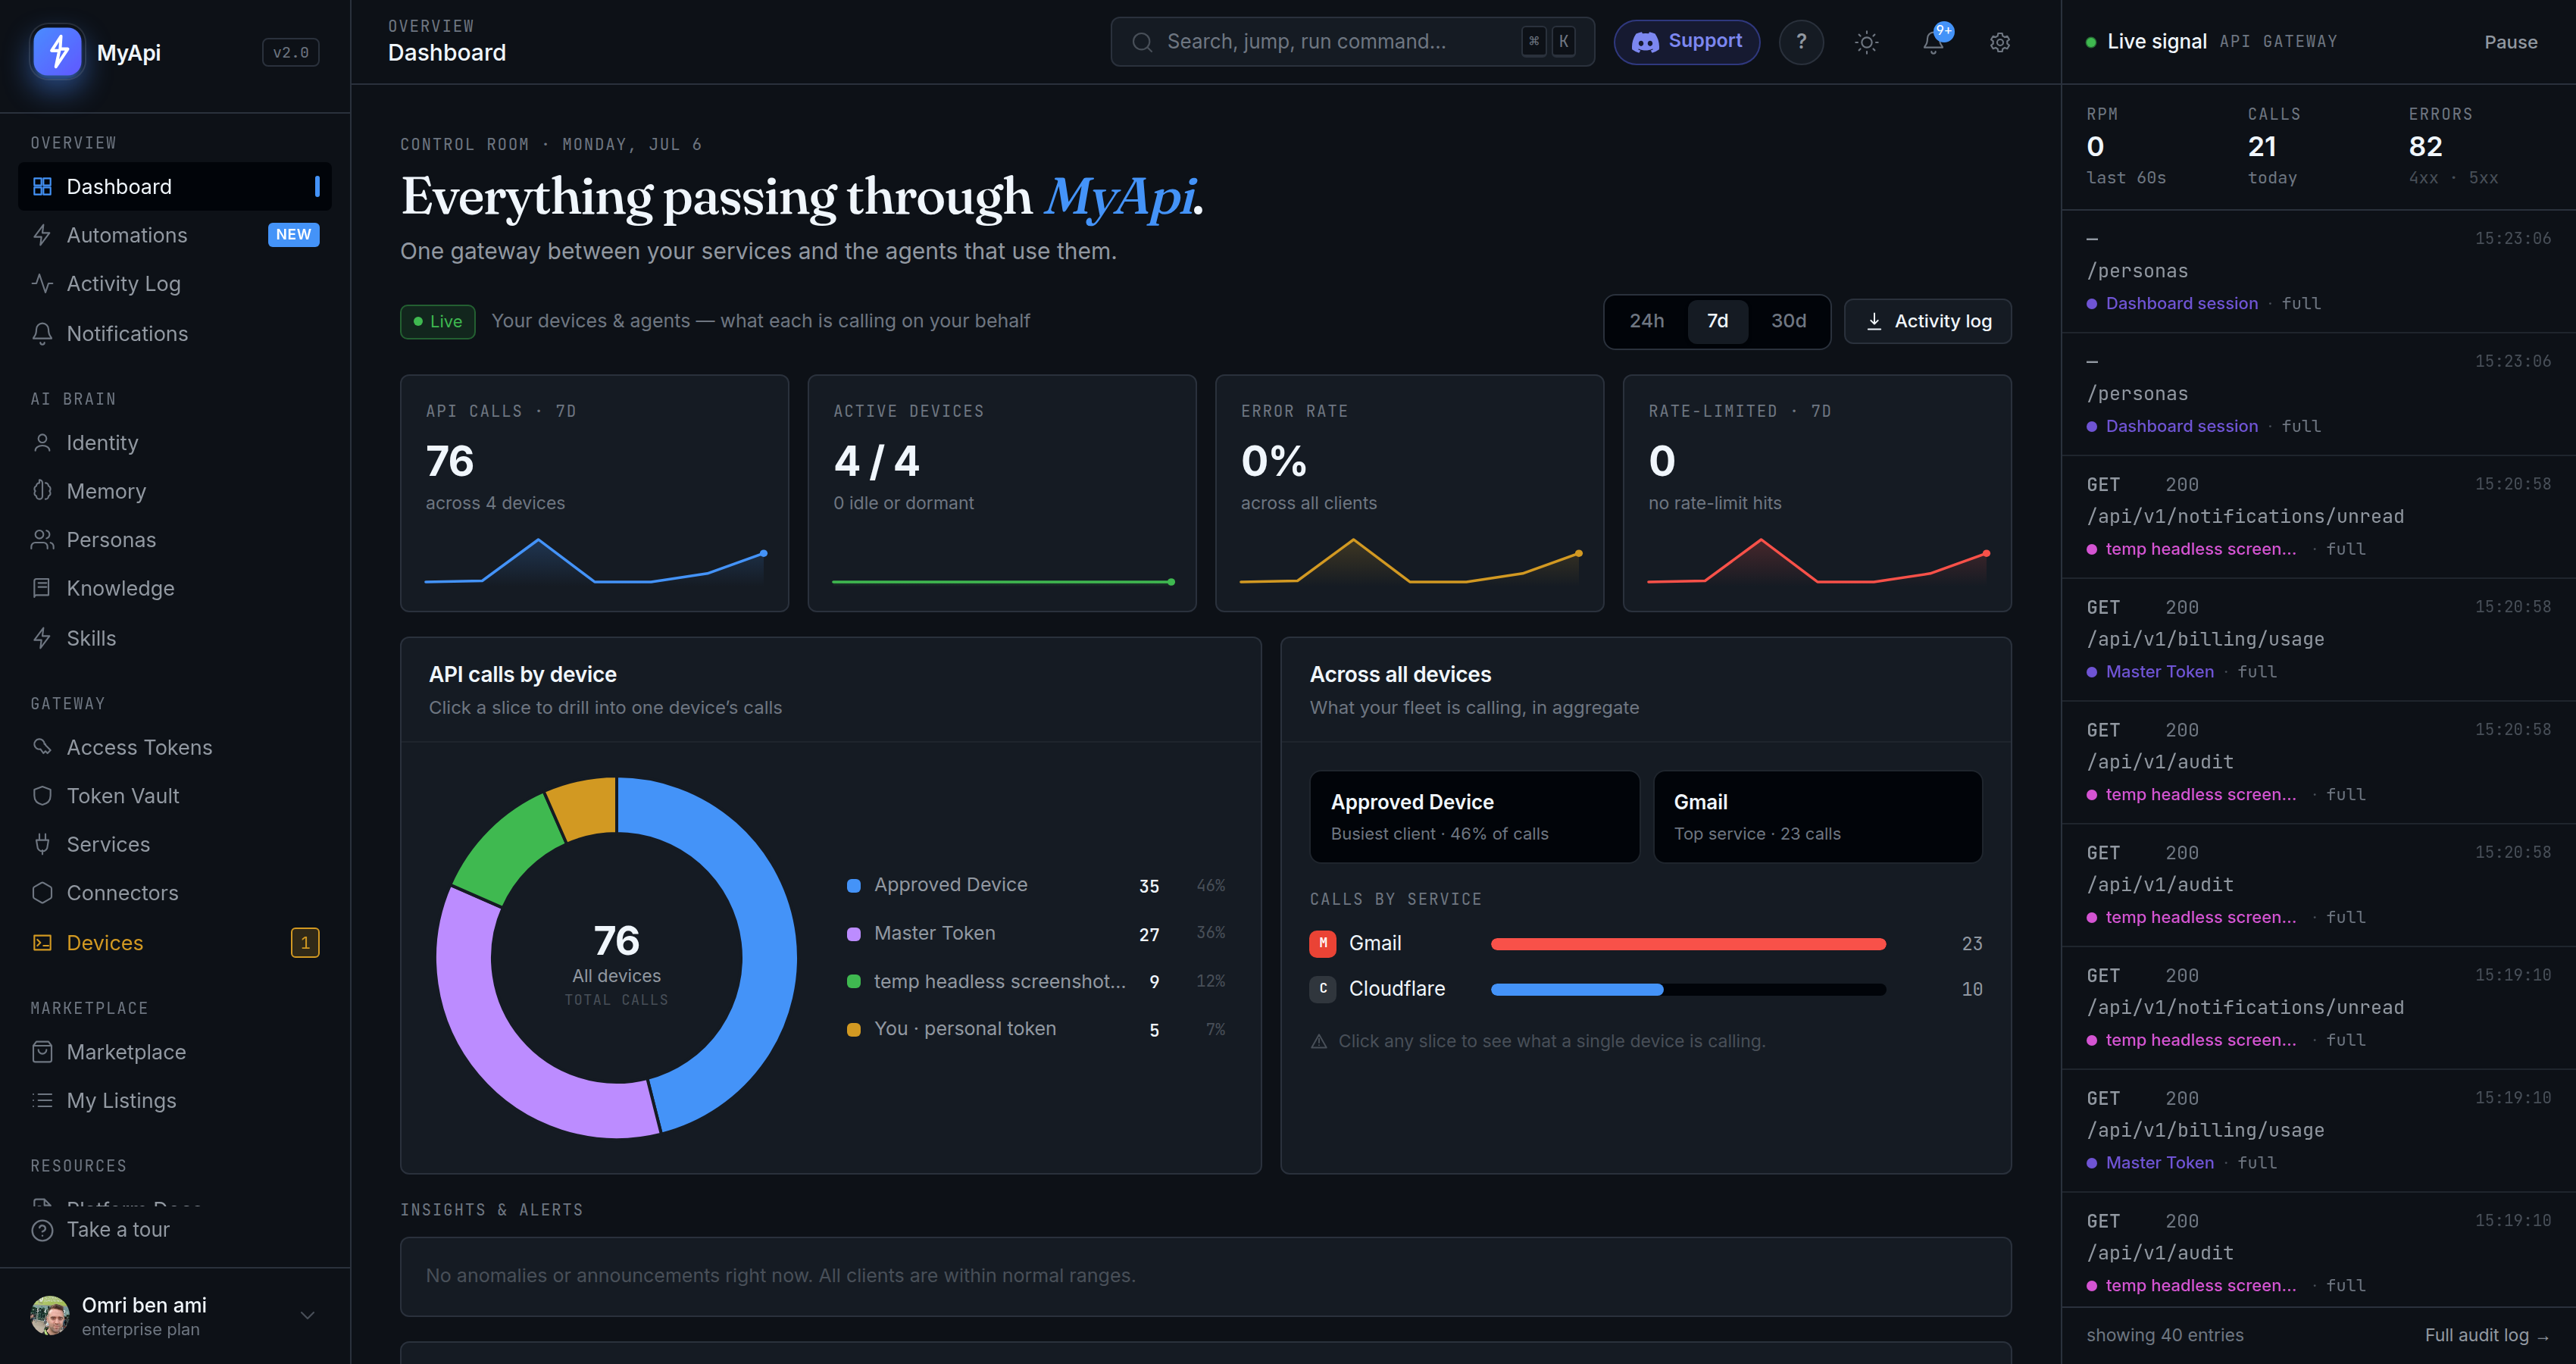
This device-level attribution is also why MyApi can produce an audit trail that names which agent made which call. In the same benchmark, MyApi's audit log recorded every request against the account, attributed to the calling device:
timestamp                 device      action
2026-07-18T04:40:39.9Z    Hermes      service_proxy      gmail
2026-07-18T04:38:26.1Z    Openclaw    service_proxy      github
If you want to check that a request is actually reaching the gateway signed correctly rather than trusting the agent's own report, MyApi's docs give the raw manual version of what the daemon does automatically — generate an Ed25519 keypair, then sign each request's timestamp and key fingerprint:
# Generate once — keep ed25519.pem secret
openssl genpkey -algorithm ed25519 -out ed25519.pem
openssl pkey -in ed25519.pem -pubout -outform DER | tail -c 32 | base64
# Per request — fingerprint = sha256(pubkey_b64).hex[:32]
TS=$(date +%s)
PUB=$(openssl pkey -in ed25519.pem -pubout -outform DER | tail -c 32 | base64 -w0)
FP=$(echo -n "$PUB" | sha256sum | cut -c1-32)
SIG=$(printf "$TS:$FP" | openssl pkeyutl -sign -inkey ed25519.pem -rawin | base64 -w0)
curl -H "X-Agent-PublicKey: $PUB" \
     -H "X-Agent-Signature: $SIG" \
     -H "X-Agent-Timestamp: $TS" \
     $MYAPI_URL/api/v1/identity
You won't need this if you're using the npx myapi-asc-mcp path — it's shown here because it's the concrete mechanism the enrollment flow automates, not a step you have to run yourself.
Scope: what the agent can actually touch
Whatever access level you pick at enrollment becomes a hard ceiling, not a suggestion. Per MyApi's docs, scopes resolve as admin:* > services:* > services:{name}:write > services:{name}:read, write implies read, and per-service scopes are standalone (services:gmail:read needs no global grant and grants nothing else). At call time the narrowest applicable constraint wins, and a call outside scope is rejected at the gateway with a 403 — it never reaches Gmail, GitHub, or whichever service was targeted.
When to choose something other than the MCP path
Master token, pasted directly. Copy a token from Access Tokens (starts with myapi_) and give the agent the Bearer header directly. It's the fastest possible test, but a master token grants full account access to whatever holds it — MyApi's own docs recommend it only for quick local experiments, not production.
OAuth PKCE with a local installer. Useful when the agent can't run MCP but a human is present to authorize in a browser. You run curl -sL https://www.myapiai.com/api/v1/agent-auth/install.js | node on your own machine (not the agent's sandbox — sandboxed agents can't receive the localhost OAuth callback), authorize in the browser tab that opens, and get back a per-agent token starting with myapi_ to hand to the agent.
Your own backend calling the REST proxy directly, if the agent is one part of a larger product rather than a standalone assistant. The pattern is one proxy endpoint per service, with MyApi attaching the sealed credential server-side:
curl -X POST https://www.myapiai.com/api/v1/services/gmail/proxy \\
  -H "Authorization: Bearer YOUR_MYAPI_TOKEN" \\
  -H "Content-Type: application/json" \\
  -d '{ "path": "/gmail/v1/users/me/messages", "method": "GET", "query": { "maxResults": 5 } }'
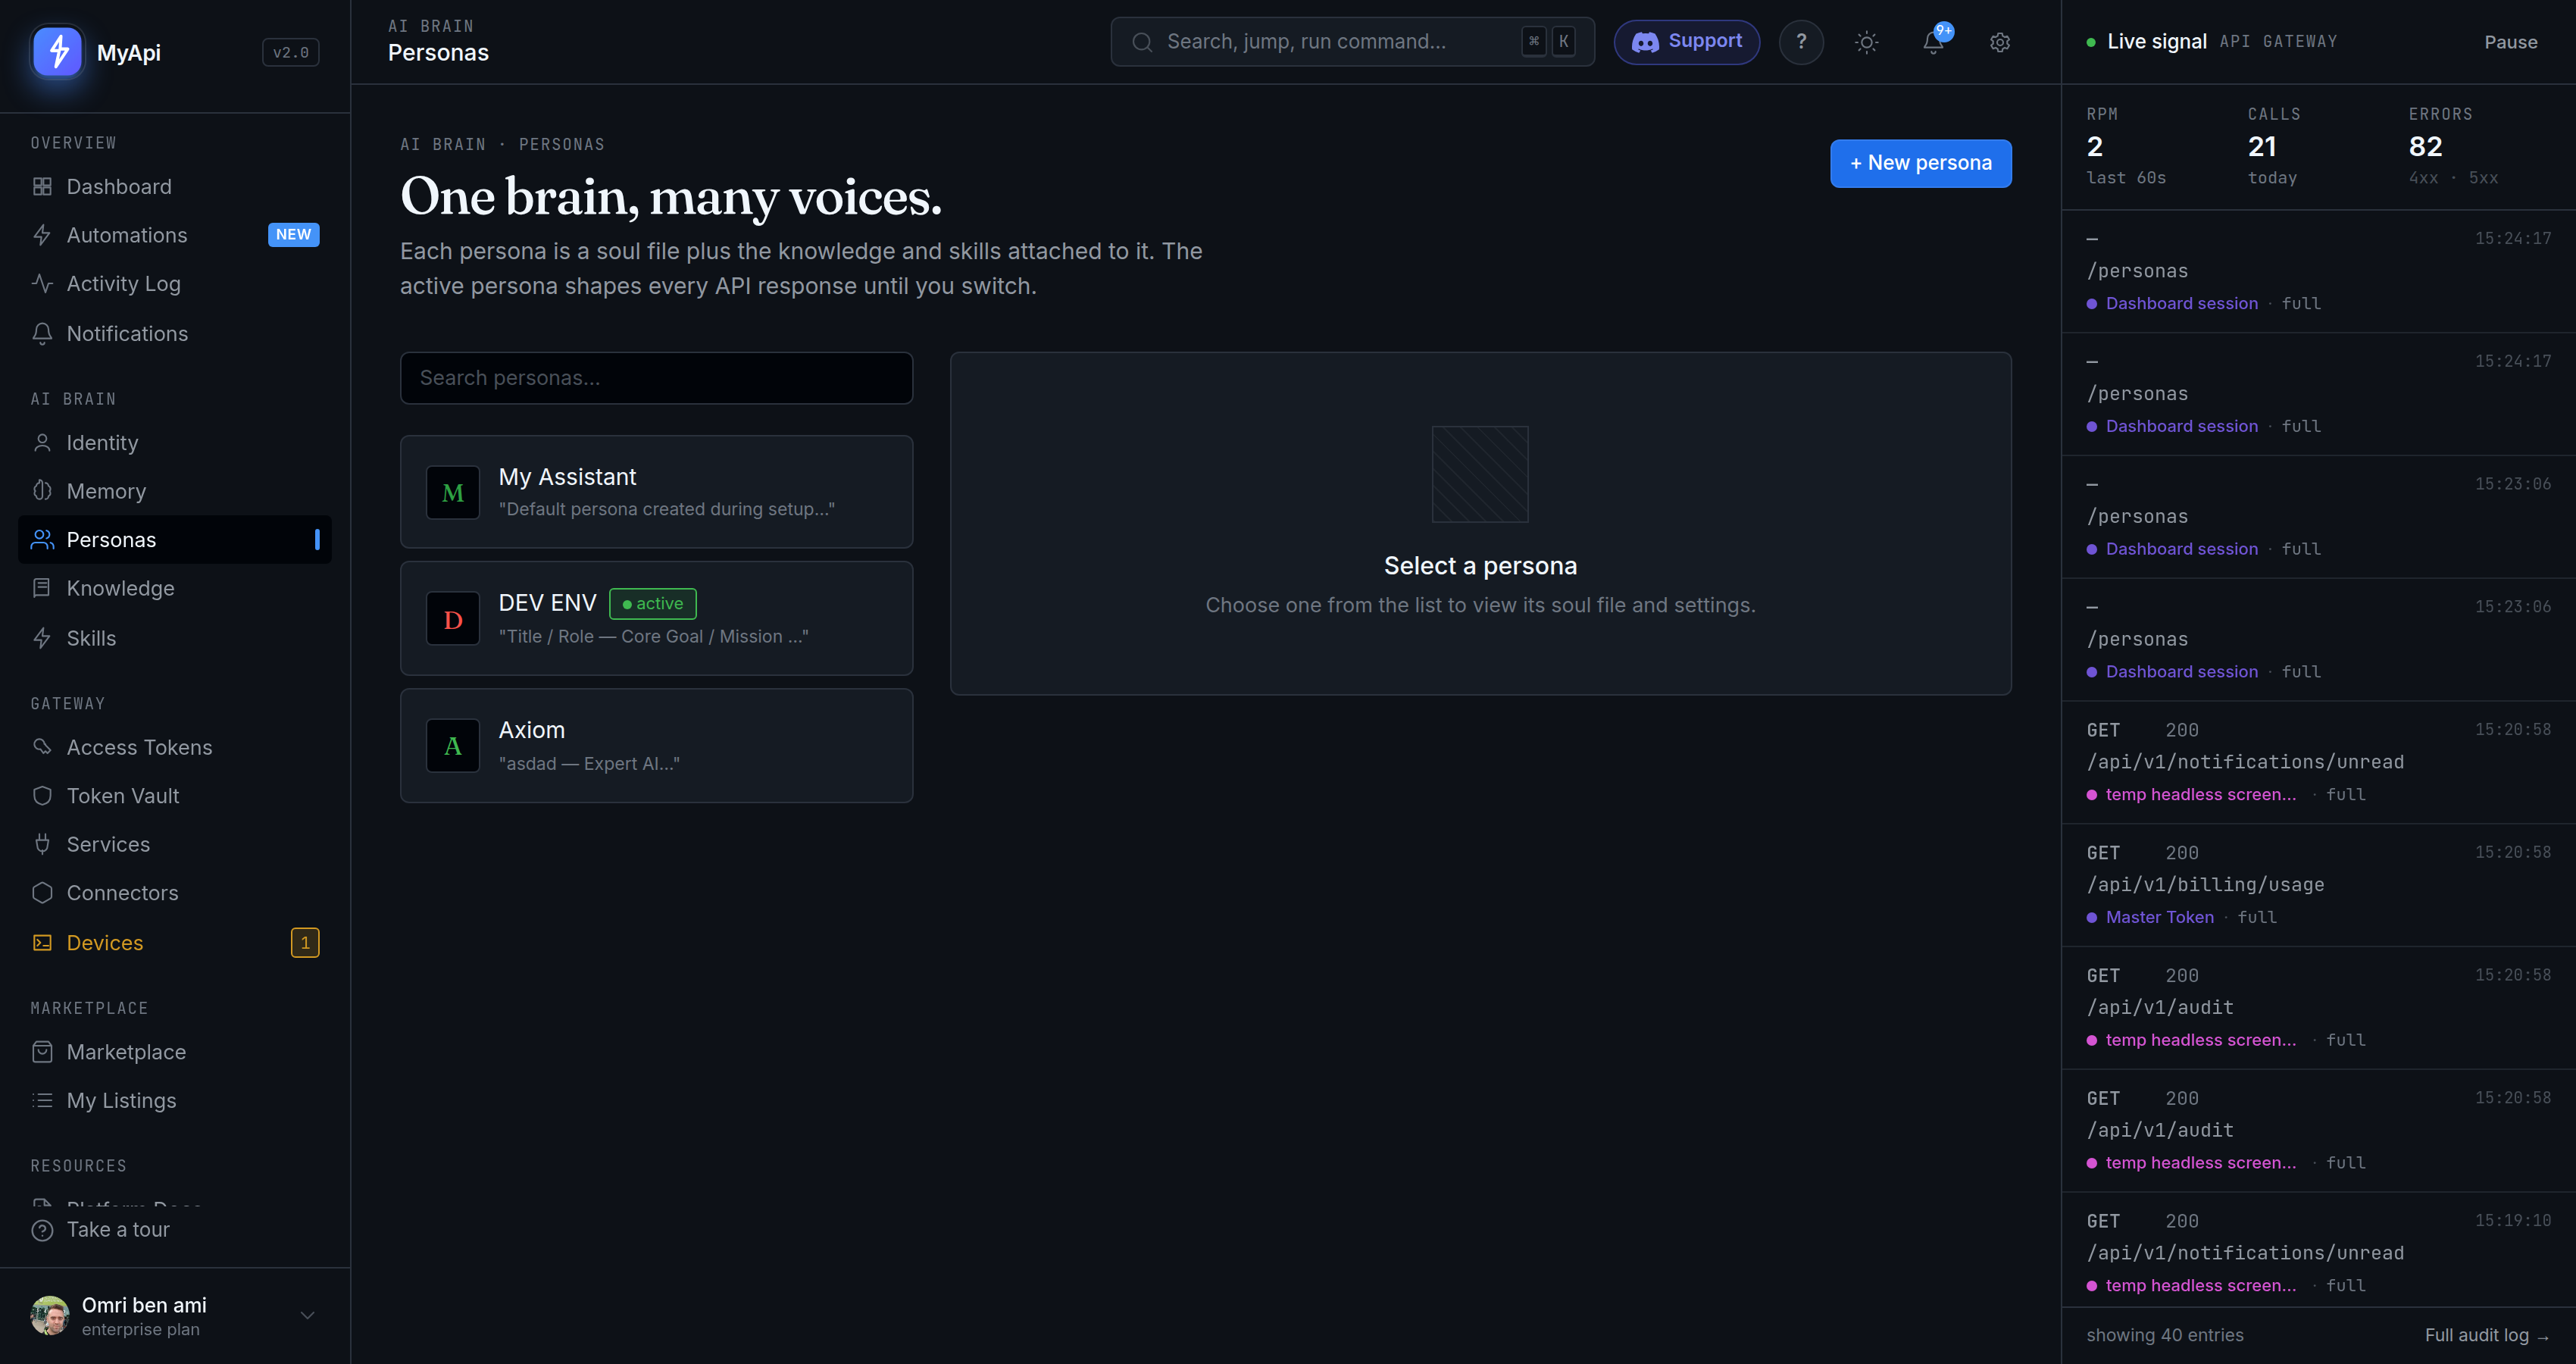
Multiple agents sharing one control layer, if you already know you're running more than one. MyApi supports assigning a persona — skills, knowledge, and a scope ceiling — to each agent, so different agents can share the same underlying account and services while keeping different limits.
If you're not sure which of these fits, start with the enrollment-code MCP path above. It's the one with the shortest distance between "nothing connected" and "agent making its first scoped, signed call."
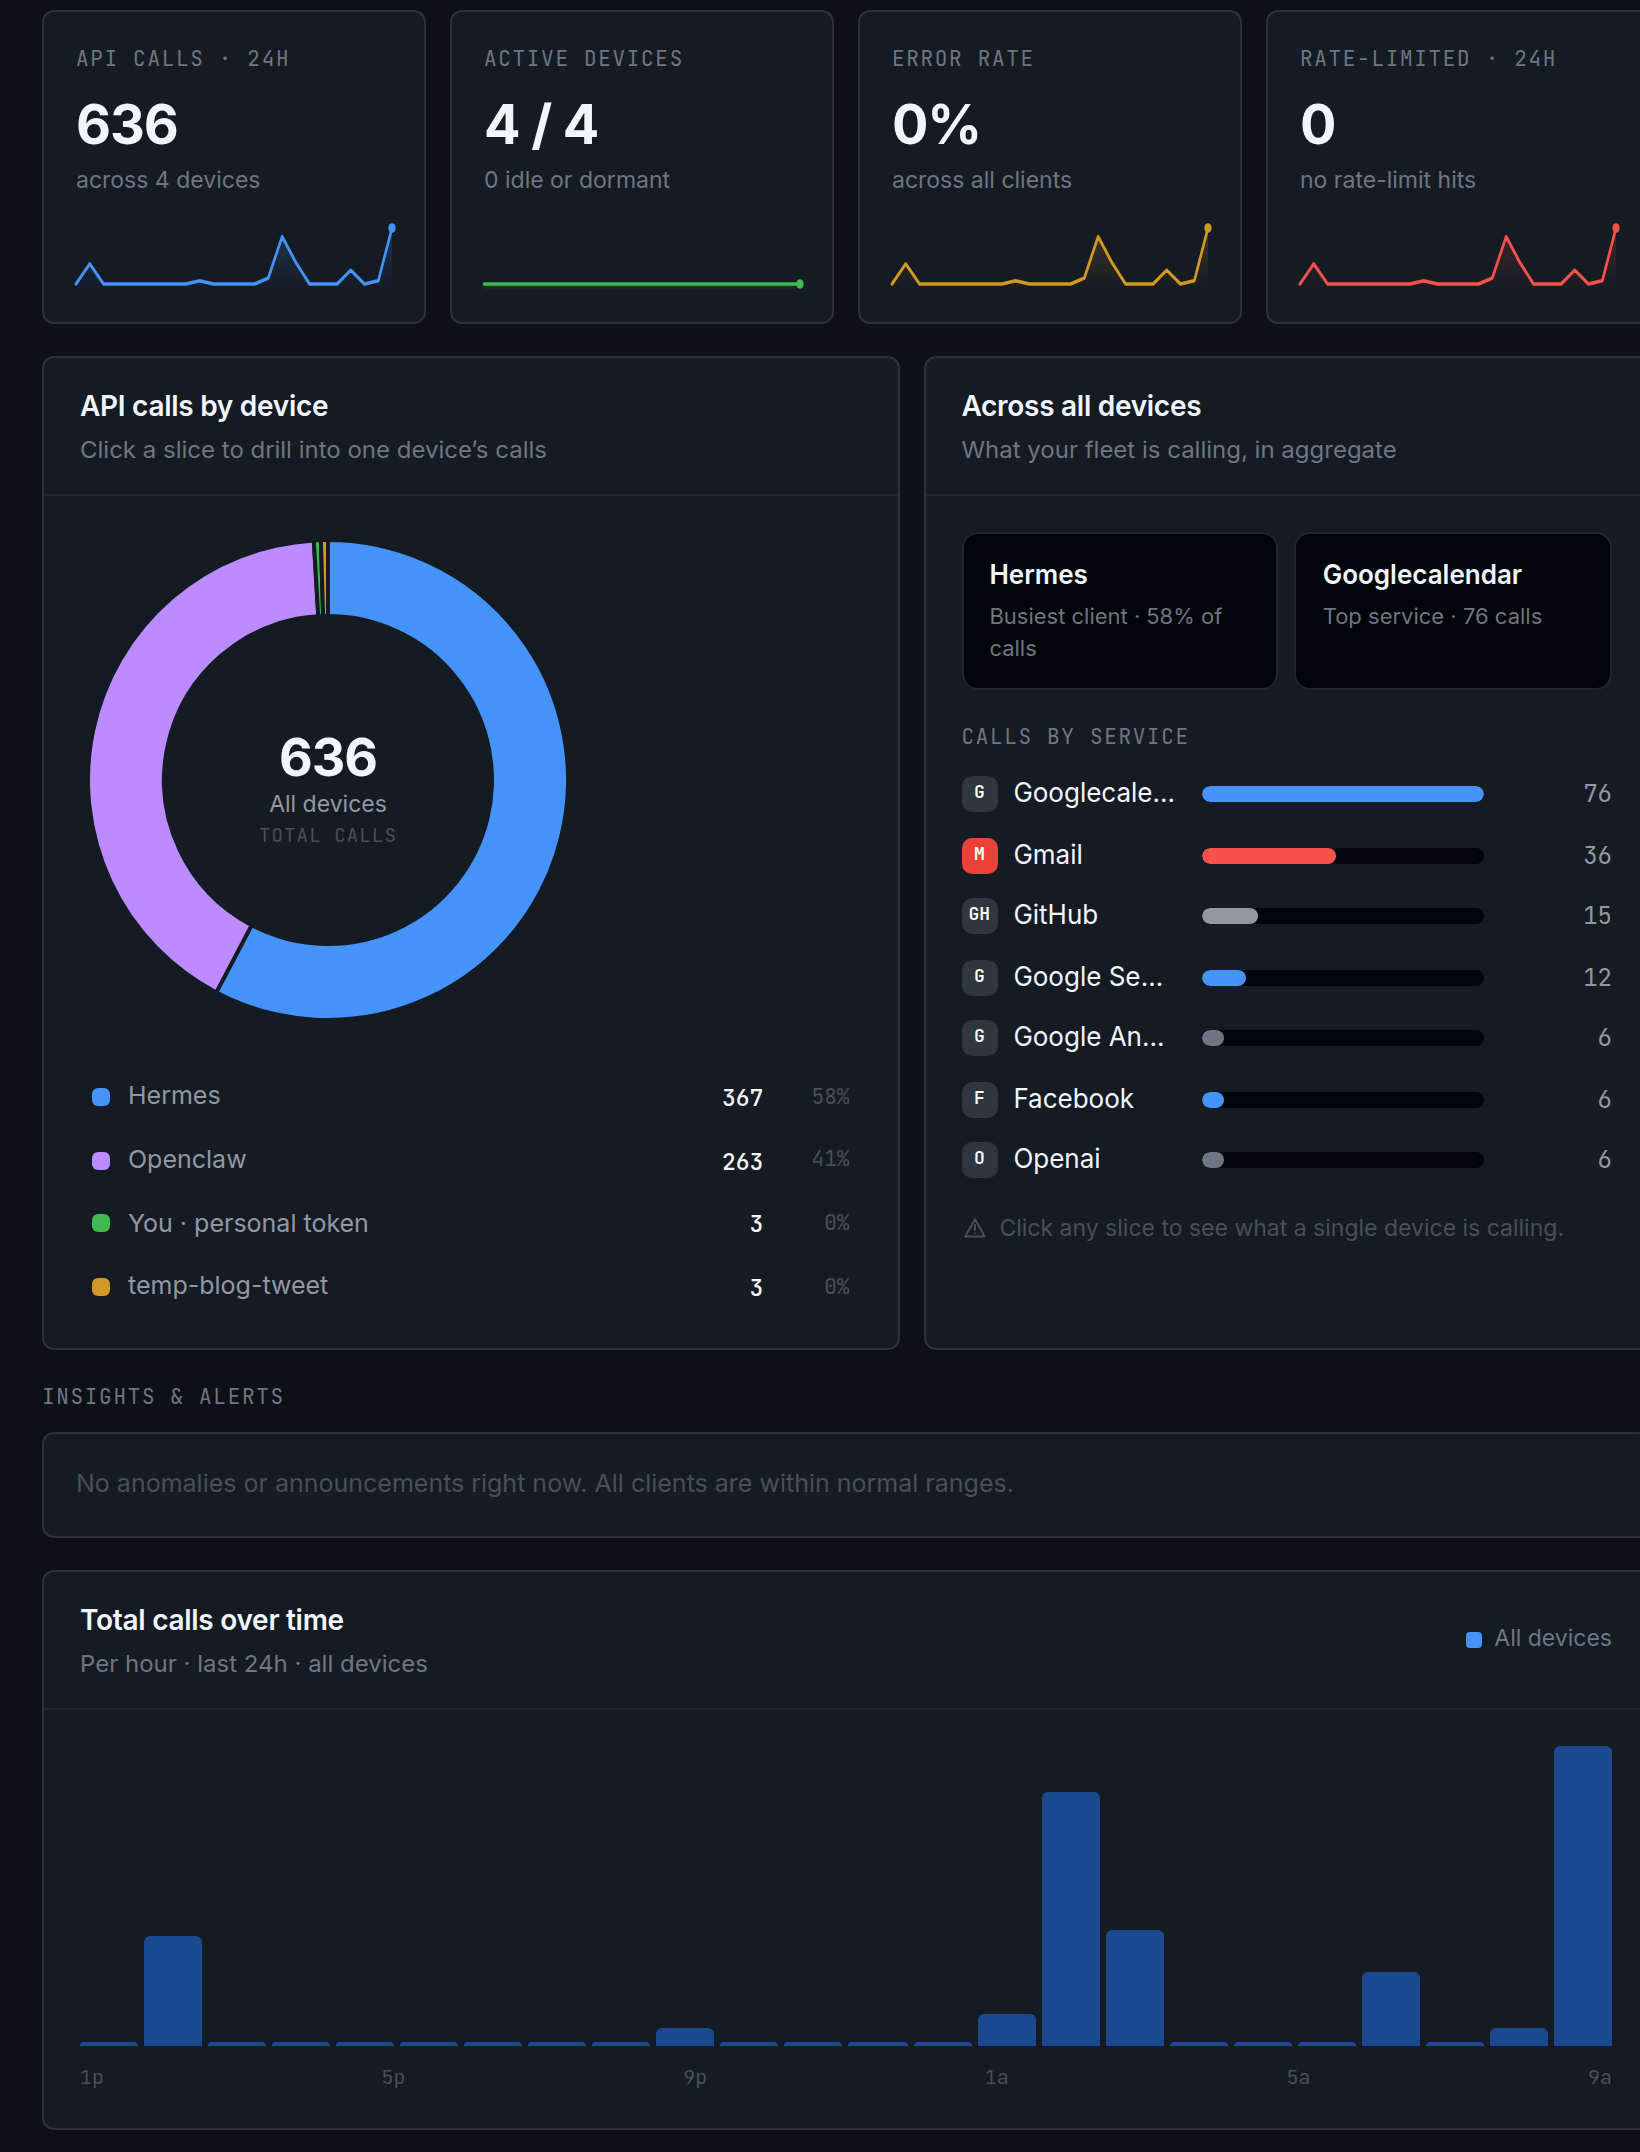
What real traffic through this setup looks like
This isn't a hypothetical diagram — it's what a live MyApi account looks like once agents are actually connected and making calls:
Checklist: did you actually connect the agent correctly?
- You generated the enrollment code (or scoped token) yourself, not reused someone else's.
- The agent's
myapi_statuscall (or equivalent) confirms enrollment and lists the services it can reach. - You checked
/dashboard/devicesand the new device shows up, approved, with a name you recognize. - The access level you picked is a real scope boundary (e.g.,
services:gmail:read), not "full" by default. - You made one low-risk read call first — like listing connected services — before trusting the agent with anything that writes.
- You know where to look if something goes wrong: the device list to revoke, the audit log to see what was actually called.
If all of that holds, the agent has a working, scoped, revocable connection — not just a config file that happened to work once.
Next steps:
- Read the MyApi developer docs.
- Review the platform security model.
- Sign up for MyApi.